CONVERTING A TOY TO A SWITCH TOY
VIA HARDWIRING
EXPENSIVE SWITCH-ADAPTED TOYS:
I’m sure everyone is aware of the expense associated with buying a switch adapted toy. Example: Regular Chicken Dance Elmo sells for $19.99. Switch-adapted Chicken Dance Elmo is in a catalog for $46.
After you purchase (you might already have them) the initial tools needed, it will only cost you about $1.00 per toy and 10 minutes of your time to make a regular toy, switch-adapted. Granted, the toy will not look perfect (with the wire hanging out) but that’s worth saving big bucks to me.
WHY HARDWIRE INSTEAD OF USING BATTERY INTERRUPTER:
Battery interrupters can get expensive. The cheapest I found was $7.00 per interrupter plus shipping. I have never had much luck with them. They always seem to break. It is difficult to get the copper place between the battery & the connection. It always seems to get jiggled and come out. Each time you need to replace the battery, you need to get it in the perfect spot again. Hardwiring avoids the headache of the interrupter. Once the toy is adapted, it’s done.
IF I CAN DO IT, YOU CAN TOO!!
Last Christmas, I spoke to Bill S. on the phone for a while and really thought I understood how to do the following. As soon as I hung up the phone, I got started. 10 minutes later, I was so confused and was too embarrassed to call him back. Jimmy’s ST’s adapted toys and showed me how to do it. If you need clarification on any of the steps, please feel free to email me: mom2jimmy@comcast.net
I’m hoping to learn how to adapt a remote control next. I will forward directions after I learn. J
TOYS THAT YOU SQUEEZE THE HAND/BELLY, ETC.
Many battery-operated toys do not have on/off switches. Instead you need to squeeze the hand, press the tummy, etc.
|
|
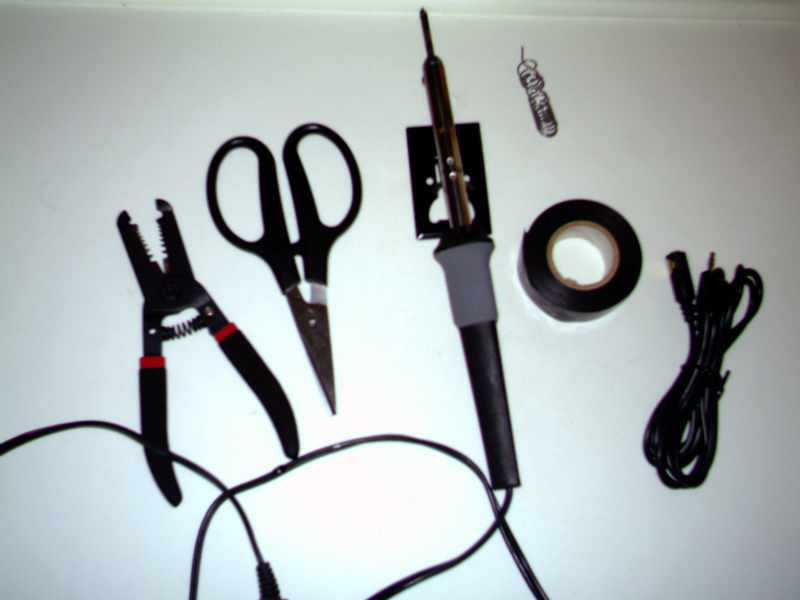
Items you will need to do the conversion: (& where you can purchase the items) * Wire Stripper ($7.99 for Kronus Gauged Wire Stripper/Cutter at www.RadioShack.com) * Solder Gun ($7.99 for 5-piece basic soldering set – includes solder at www.Radioshack.com) * Solder (see above) * Electrical Tape * Scissors * 6’ Stereo Extension Cable – Item #88-587 (1.25 each or 99 cents for 5+ at www.gocna.com)
|
|
|
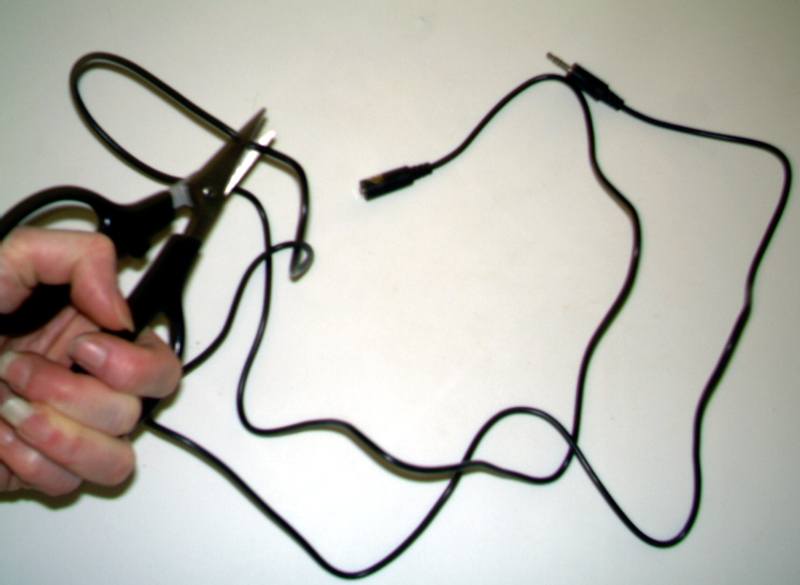
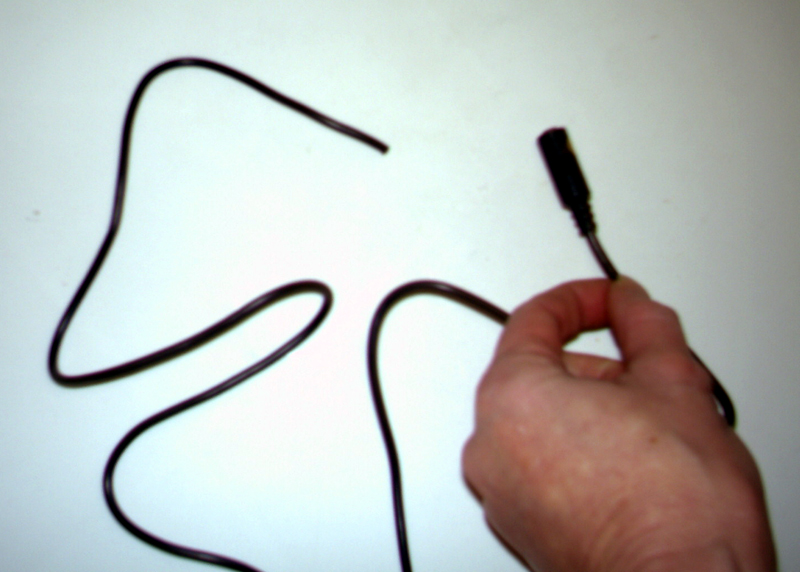
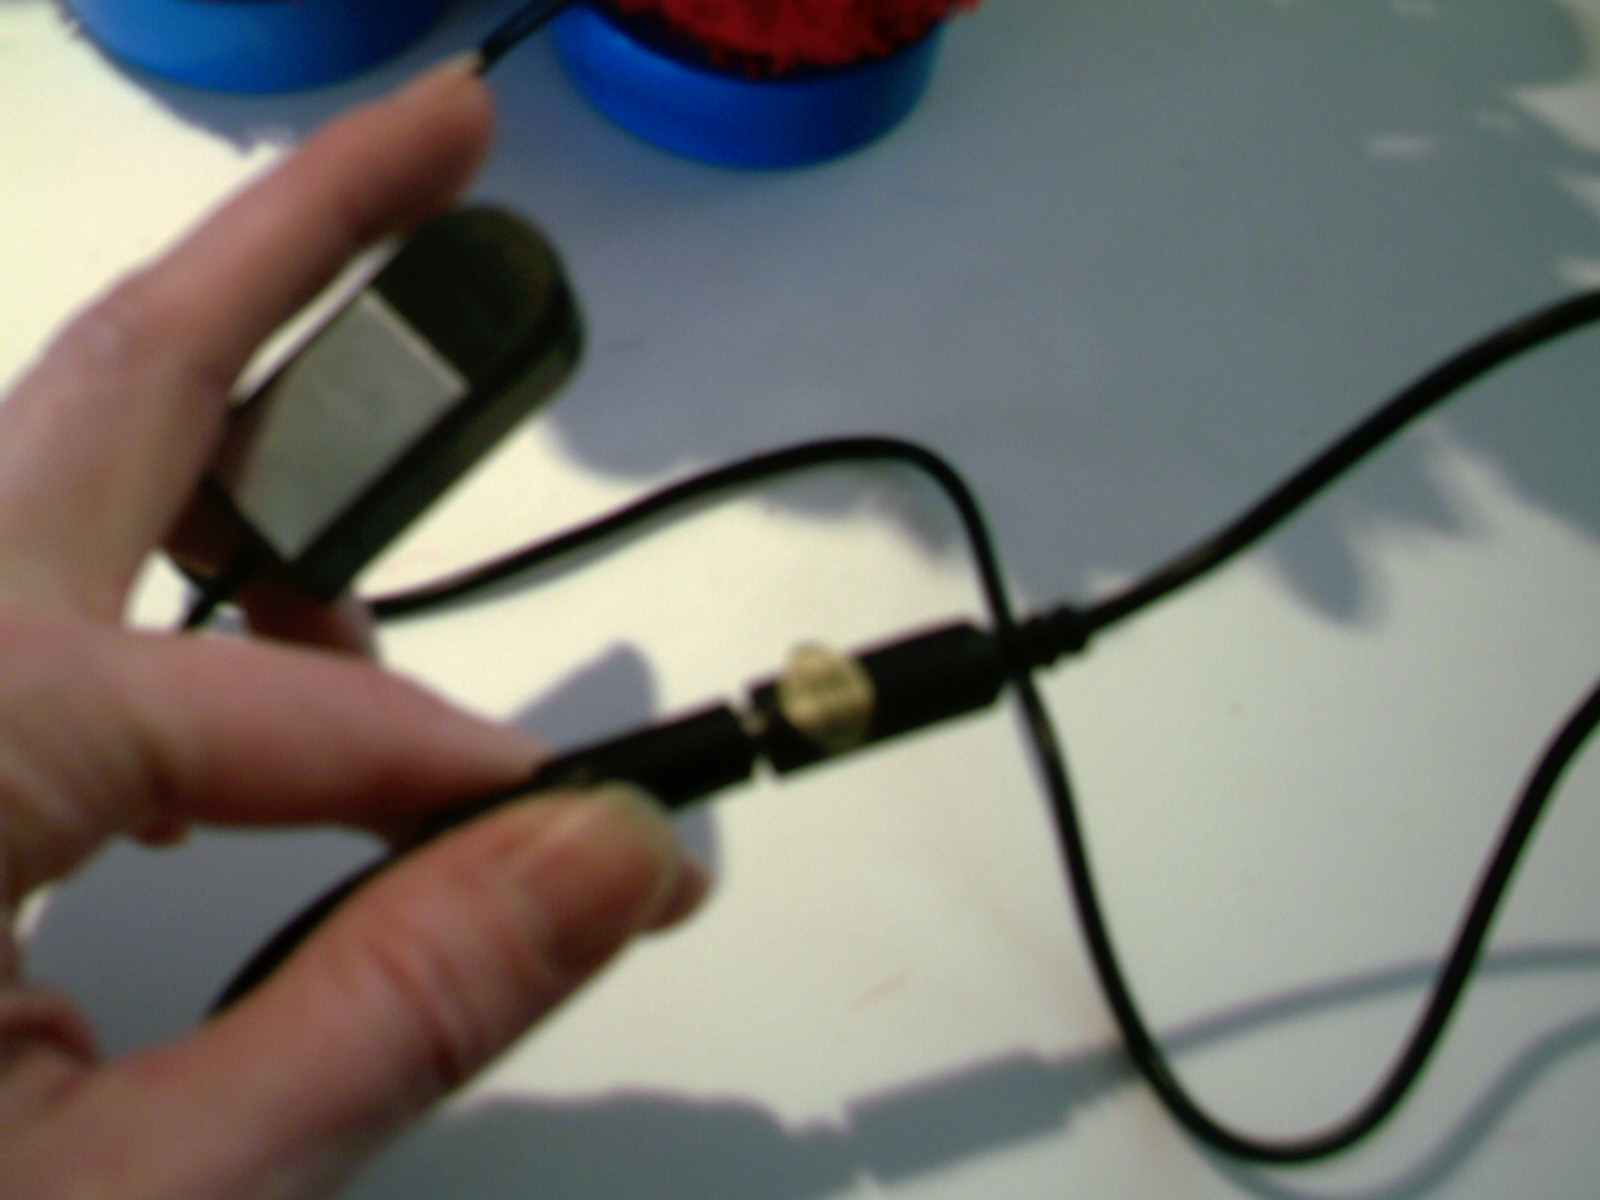
We only need part of the stereo wire. The end that is needed is the female part (the end that you would plug the switch into). Determine desired length and cut the wire. You can dispose of the male end. |
|
|
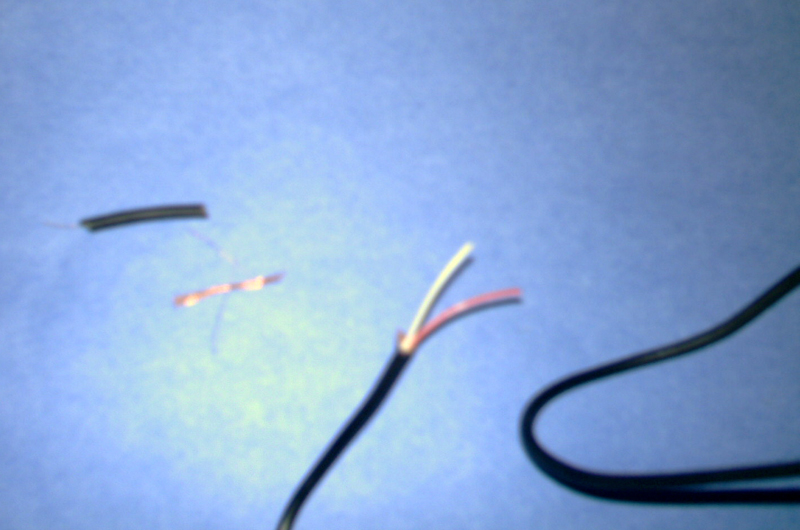
Strip the black coating off of the end. Be careful not to cut too deep. When exposed, you will see: 1 wire has a red coating 1 wire has a white coating & fine strands of copper wiring.
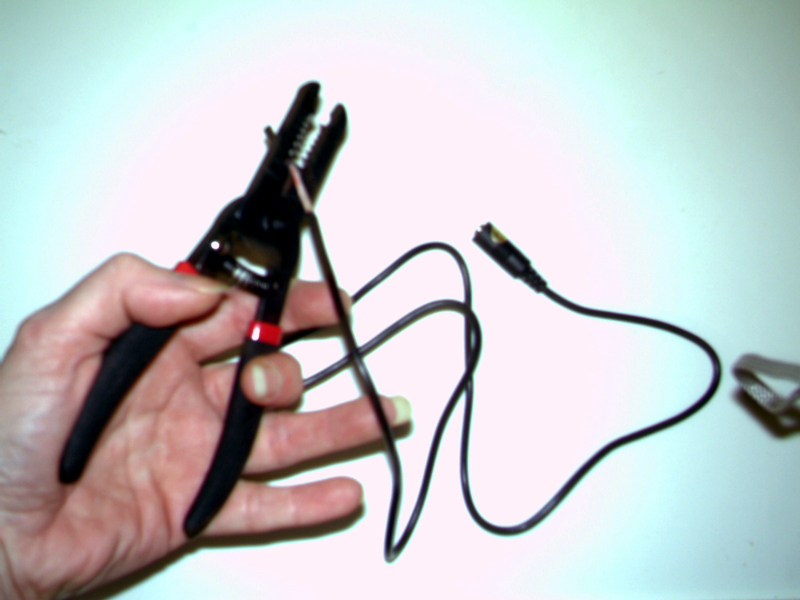
Cut off the fine copper wiring. You only need the red wire & the white wire. |
|
|
You will need to strip about ½ inch of the red coating away and ½ inch of the white coating.
|
|
|
Make sure the toy is working. J
Be sure to know where you need to press in order for it to operate.
Remove batteries from toy before starting.
EX: Hawaii Elmo, you press his hand |
|
|
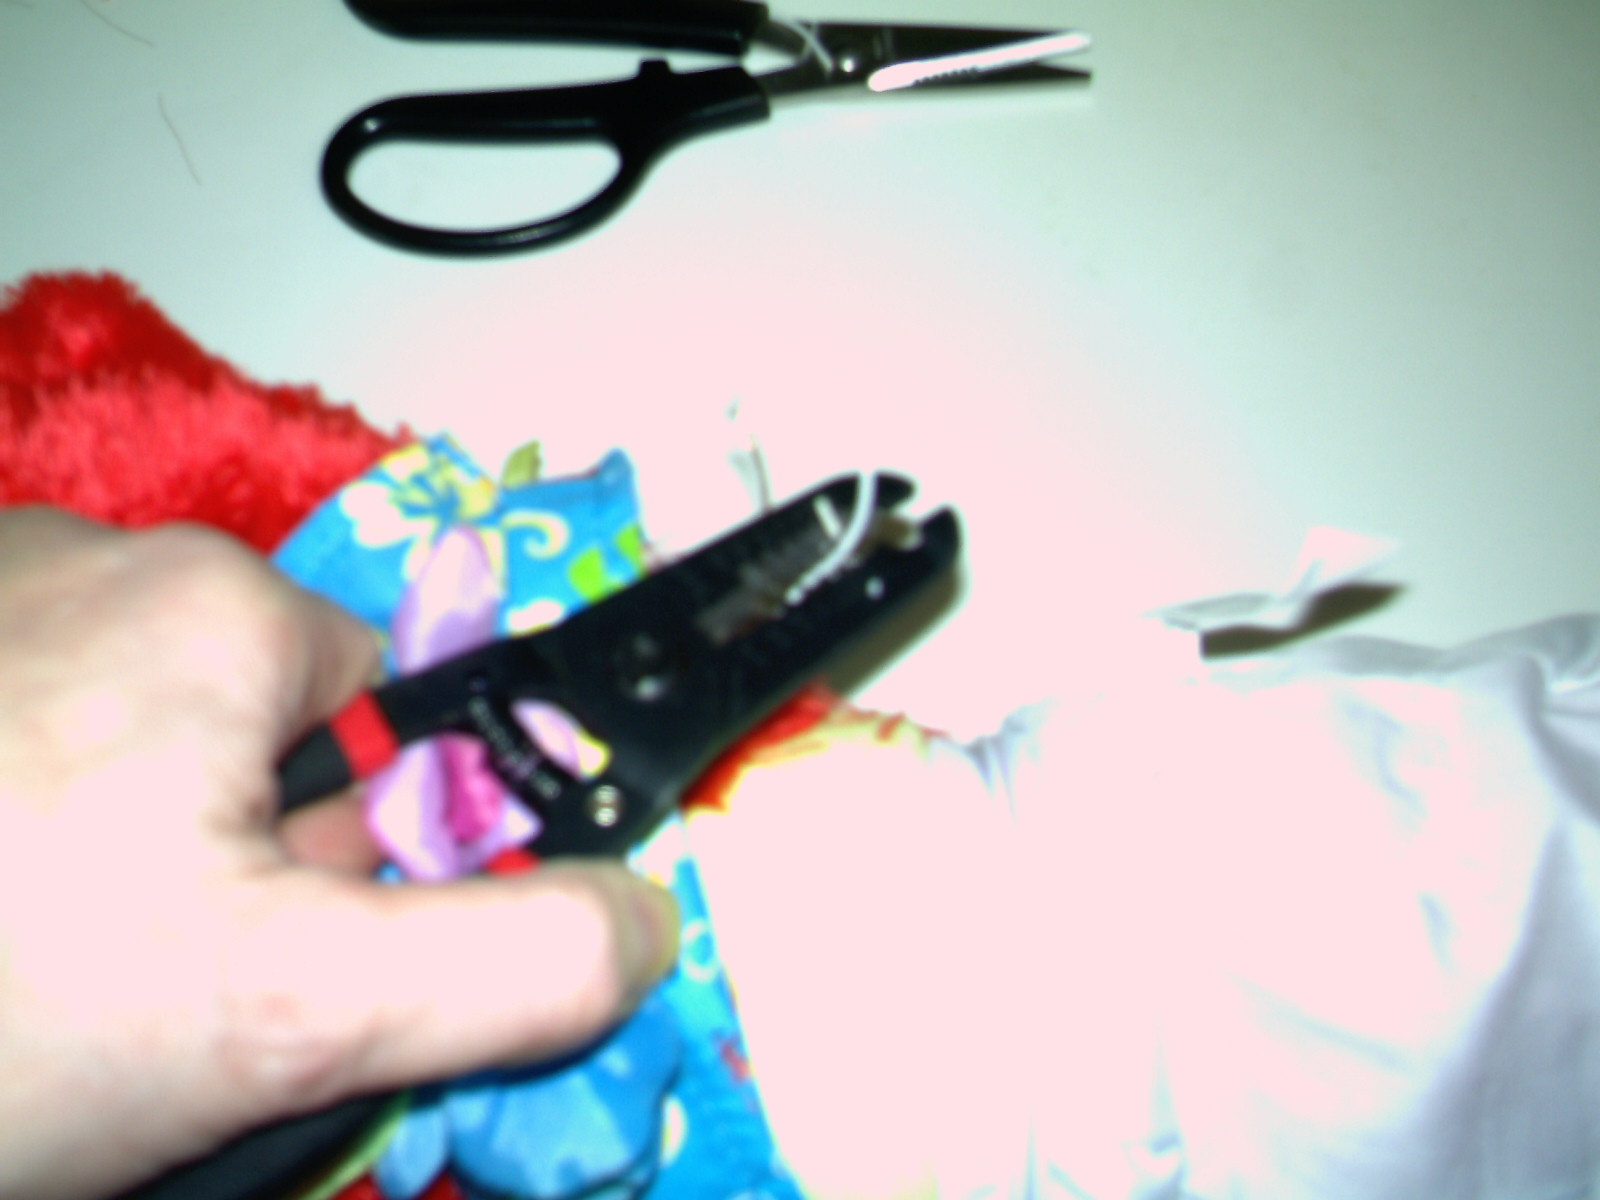
You need to locate where the wires are that go to the “Press Here” button to operate. In Hawaii Elmo, the wires are up through his arm to get to his hand.
I cut a slit under Elmo’s left arm (you need to press his left hand for him to operate) and found 2 white wires. |
|
|
I cut both white wires making sure I didn’t lose the 2 ends that are attached to the motor of the toy.
You will no longer be able to squeeze the hand to operate because we disconnected that activation. |
|
|
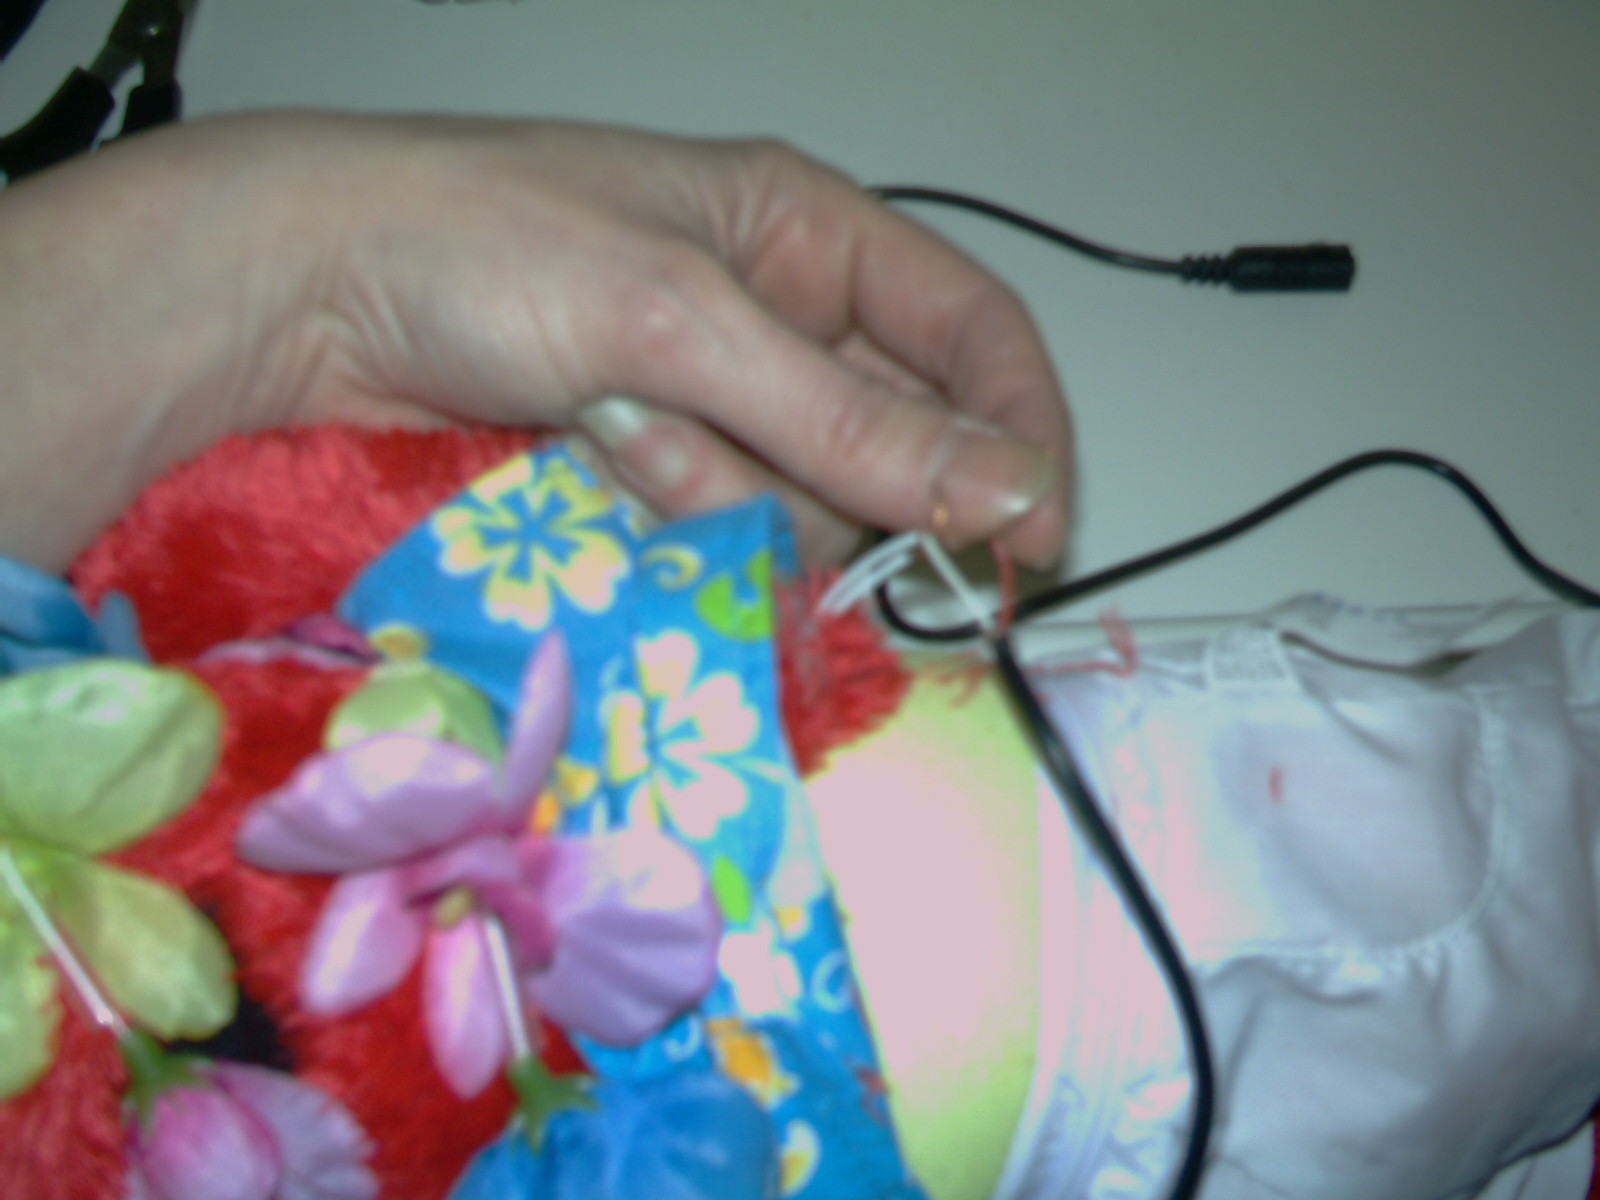
Then stripped both white wires about ½ inch each.
|
|
|
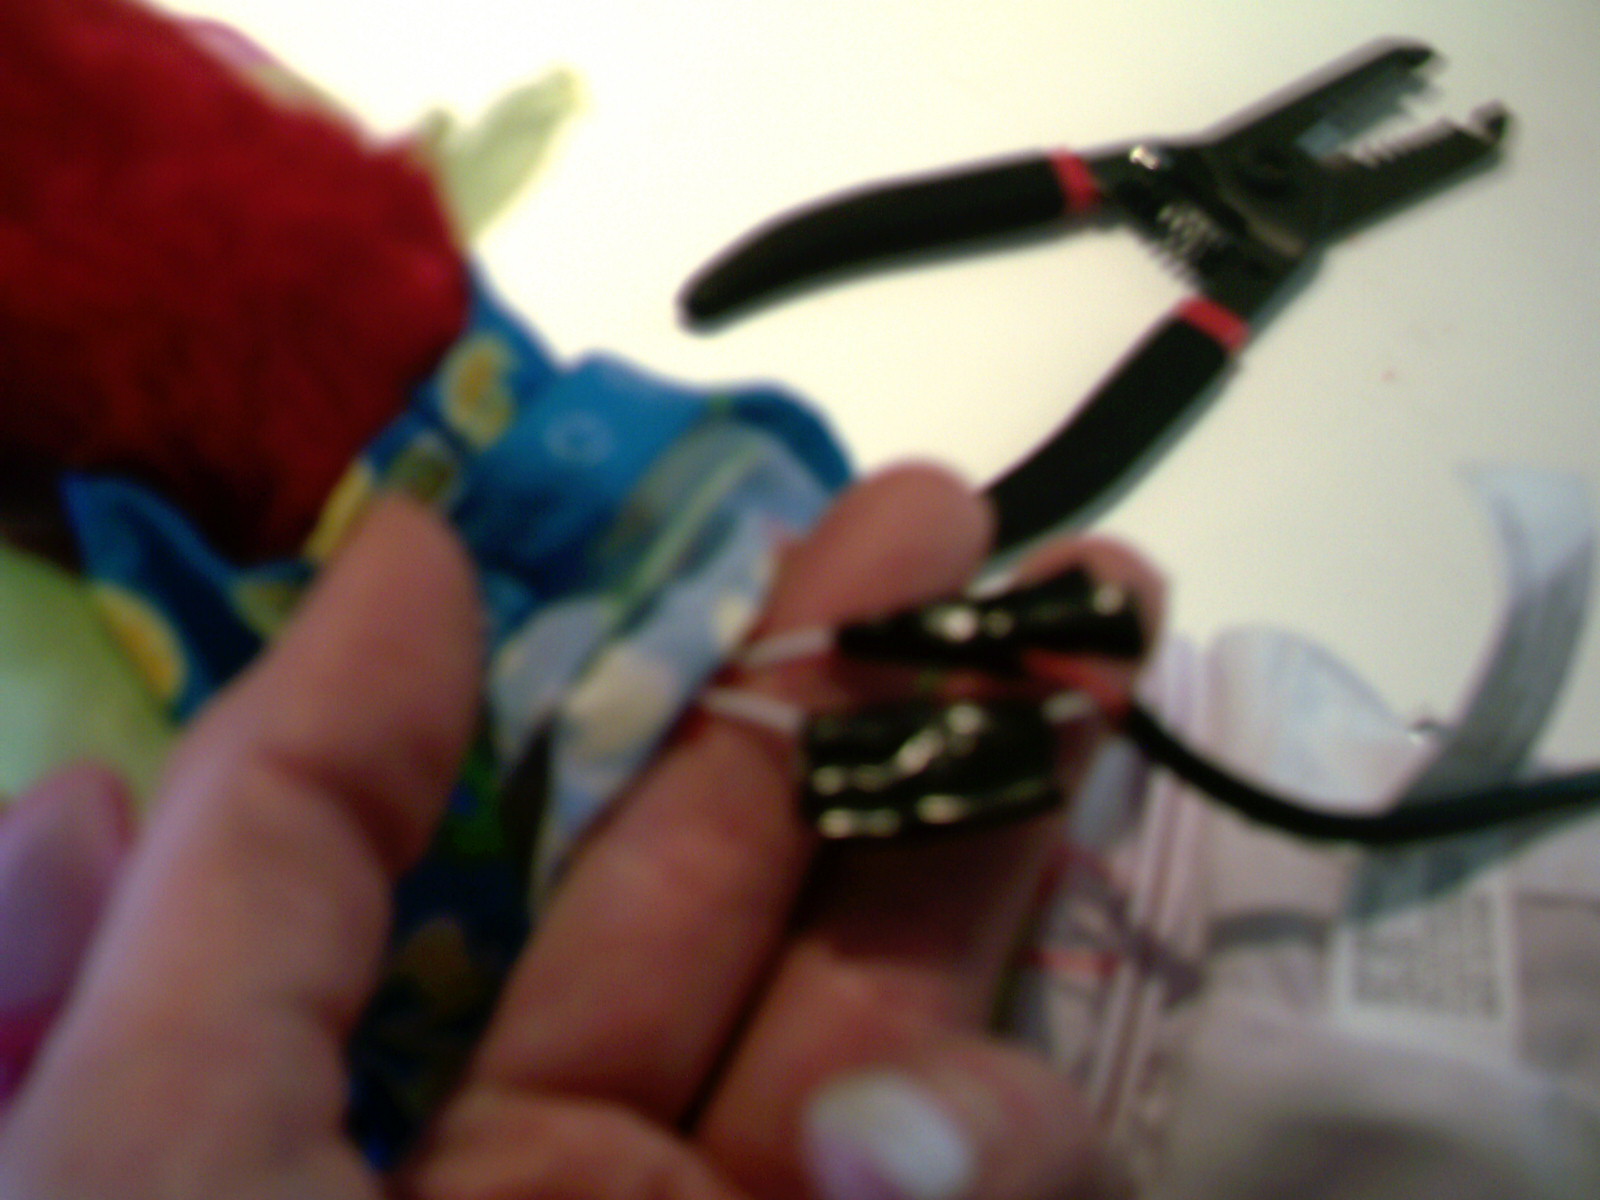
Bring over the stereo wire end and twist the one end of the stereo wire (the exposed copper wires that had a red plastic coating) to one end of the white toy wire. It doesn’t matter which white wire you pick. Then do the same with the remaining white toy wire and the remaining exposed copper wire (which was in a white plastic coating).
|
|
|
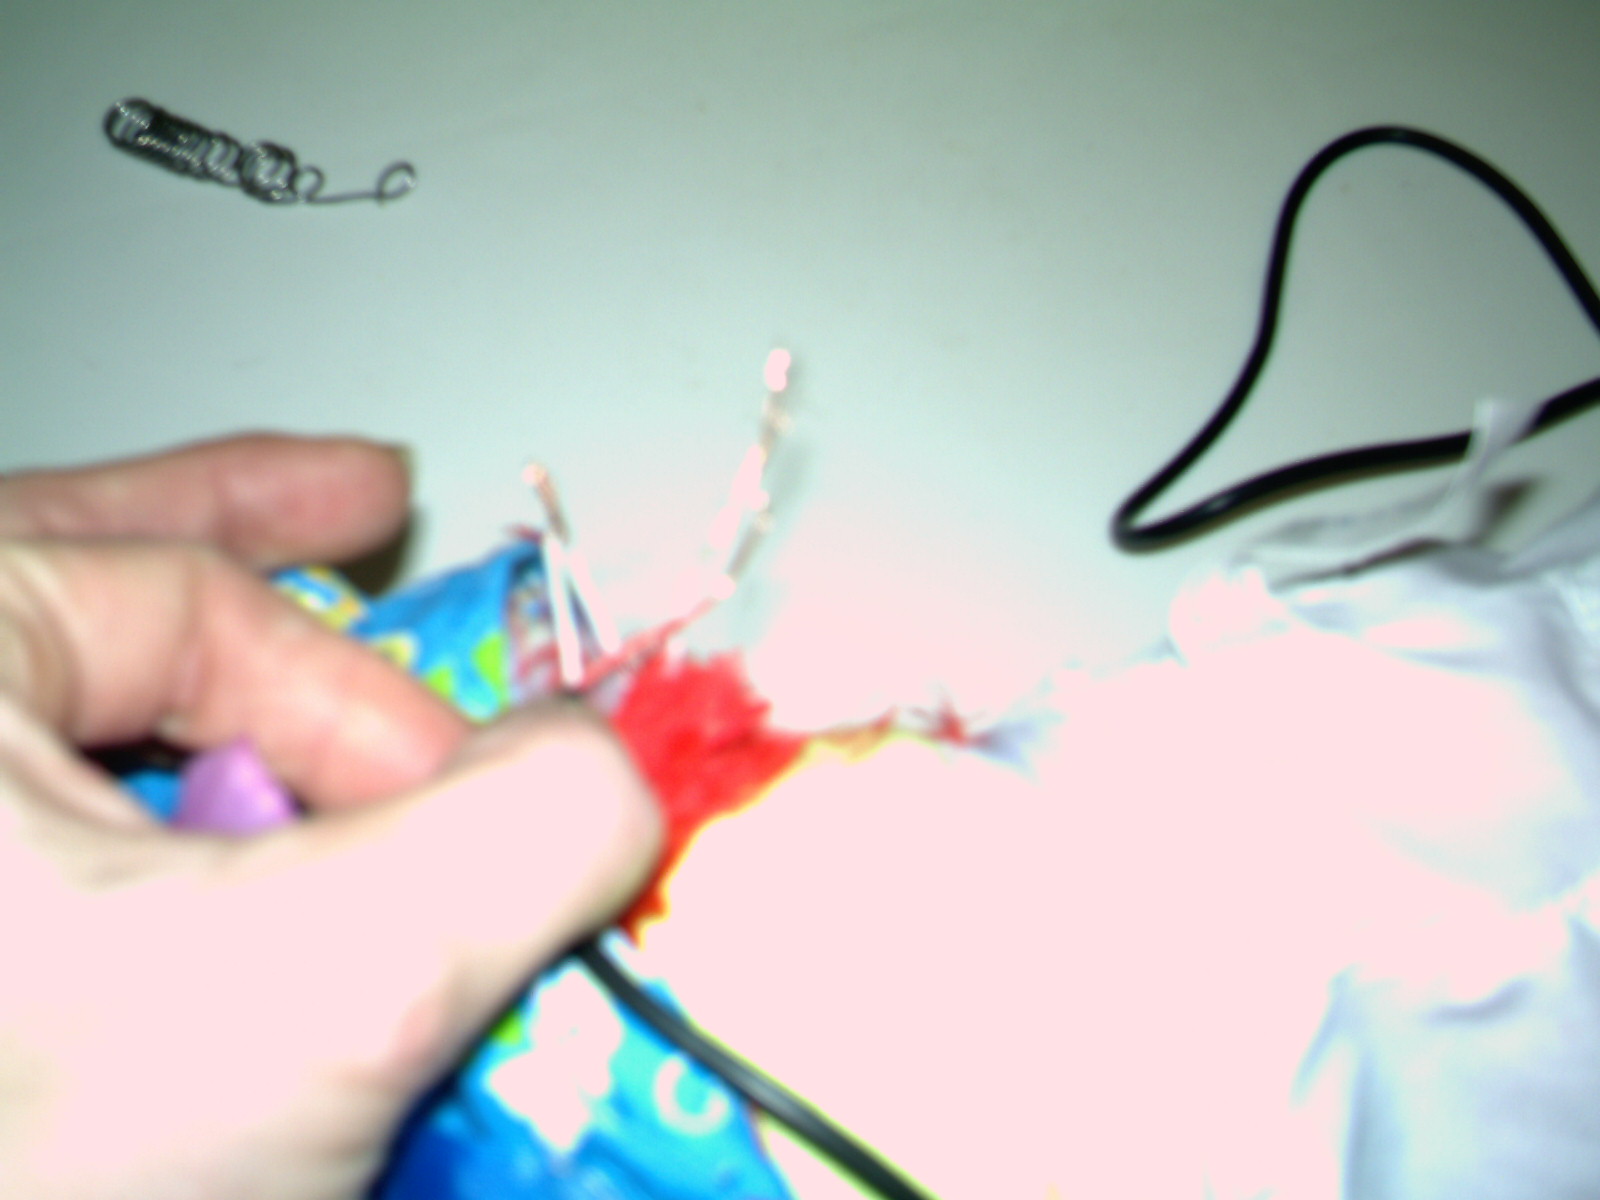
Plug in the soldering gun. Be very careful with it. It gets extremely hot! I put a metal tray underneath my workspace when using it. Just in case the solder drips. Using the solder and the solder gun, solder the twisted wires together making sure that the 2 separate wires are not near each other.
|
|
|
Use electrical tape to cover the exposed soldered copper wires. Tape the 2 separate wires separately.
|
|
|
Push the wires back up into toy.
Put batteries back into toy. If it has an on/off button (like Hawaii Elmo) put it on. Plug in switch to adapter. Press & play!
YEAH!!! |